Introduction
When you want to start your web development journey, you will need a server installed locally on your machine where you will test things before moving to a live server (online server).
One such solution for Windows 10/11 users is Wampserver. This article will guide you through the installation process, ensuring you have a fully functional Wampserver on your Windows 10/11 system.
What is Wampserver?
WampServer is an acronym standing for Windows, Apache, MySQL and PHP.
Formally, the definition of Wampserver is a web development platform for Windows that allows you to create and test dynamic web applications using Apache, PHP, MySQL and MariaDB locally.
In our case as website builders, it’s a local server that provides a server environment where we can put our website files and will benefit from server features.
WampServer installs all these configurations and components automatically on your system, so you do not have to set them up manually.
Among the important features of WampServer is PhpMyAdmin. A web-based tool, to manage databases easily.
WampServer is a solution stack, which means it consists of different software layers that work together to provide a complete environment for web development.
The most important of all this is that WampServer is free and open source, and we can download it from SourceForge.
Step-by-Step Guide to Install Wampserver on Windows 10/11
1. Downloading the Wampserver Installer
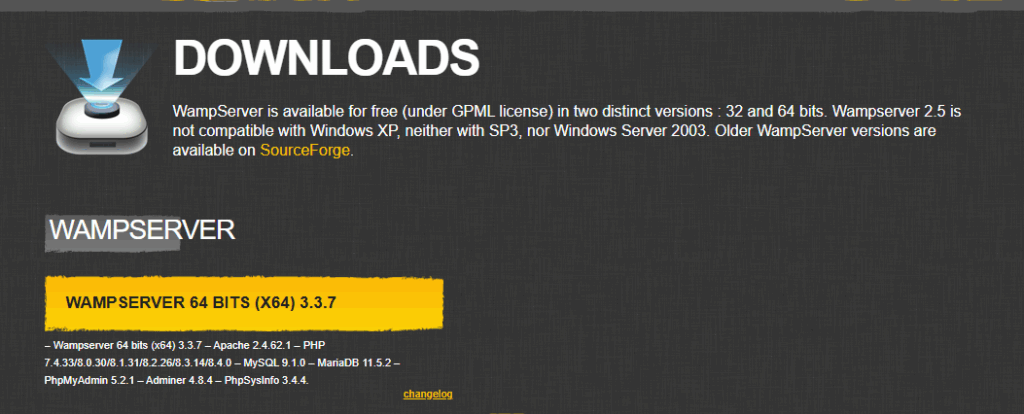
Visit the official click WampServer website, and click Download then scroll down to Downloads and download the version compatible with your machine.
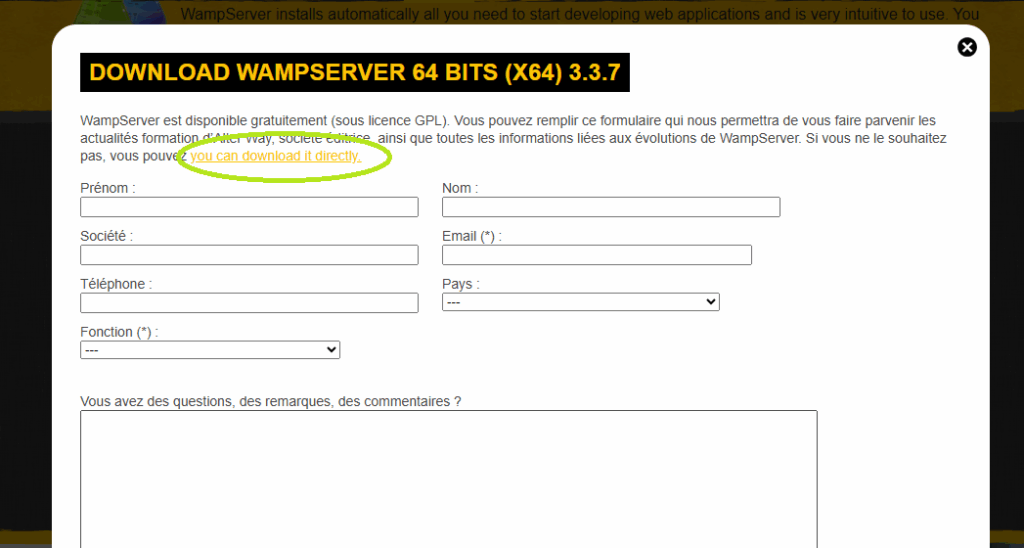
You will get the popup to enter your info (First Name, Last Name…etc). You can skip this step and click the link to download directly form sourceforge.
But before downloading, you better visit this Wampserver Versions page, and you will get a bunch of options you need to pay attention before choosing what to download.
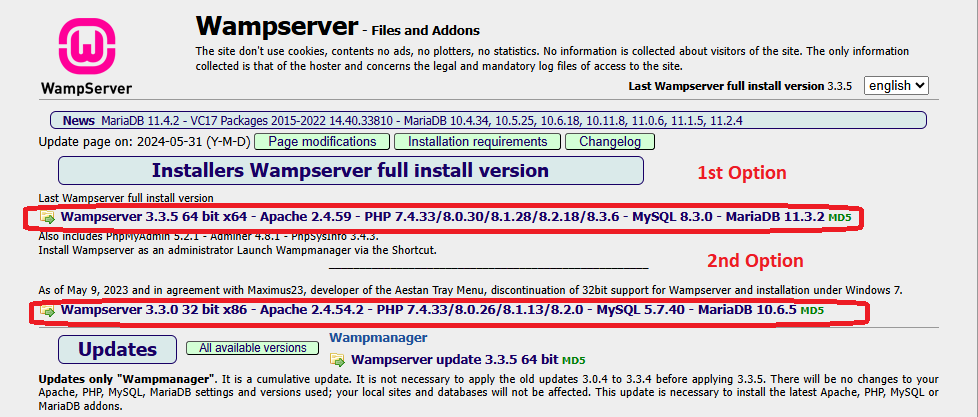
In the 1st option, you have the choice to download “Last Wampserver full install version”. As understood from the title. This version Wampserver 3.3.5 64bit x64 version and it contains:
- Apache 2.4.59
- PHP versions 7.4.3, 8.0.30, 8.1.28, 8.2.18, and 8.3.6
- MySQL version 8.3.0
- Database version MariaDB 11.3.2
- MD5
In the 2nd option, you have the choice to download another version of WampServer. As understood from the title. This version WampServer 3.3.0 32-bit x86 version and it contains:
- Apache 2.4.54.2
- PHP versions: 7.4.33, 8.0.26, 8.1.13, and 8.2.0
- MySQL version 5.7.40
- Database version MariaDB 11.3.2
- MD5
In our case, we will go with the 1st option as it contains most recent version of MySQL (8.3.0) and PHP (8.3.6). Except this version is a bit big and will take more resources on your machine.
2. Running the Installation Process
After hitting the installation file downloaded, the installation process will start. Follow the instructions you will see on the screen, and select the appropriate option including for instance the directory where you want to install, text editor, and default browser you want to use when opening website pages. Note that you can change these settings later whenever you want.
Configuration Options
Setting Up Your Server
During installation, you will get some configuration options. It’s always recommended to go for the default settings as a nonexpert of server management and WampServer. Users with advanced knowledge can go further and customize options based on their specific requirements.
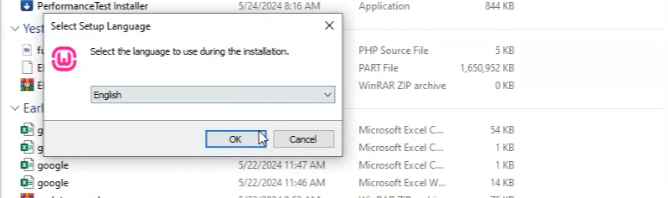
Among the options you will get while installing is the language you prefer to use with WampServer. You can choose your preferred language and click the “Ok” button. See below.
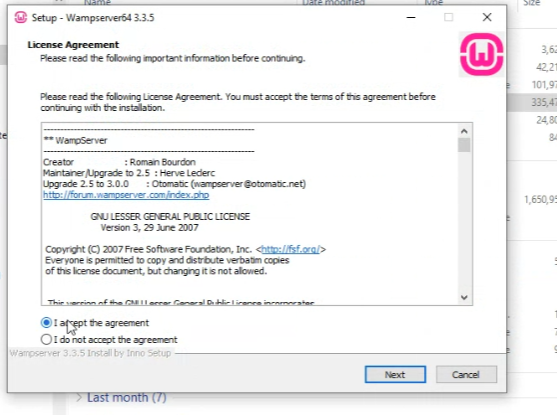
Like the installation of any other program, you will be asked to accept License of agreement. So, you accept and click next to continue the installation process.
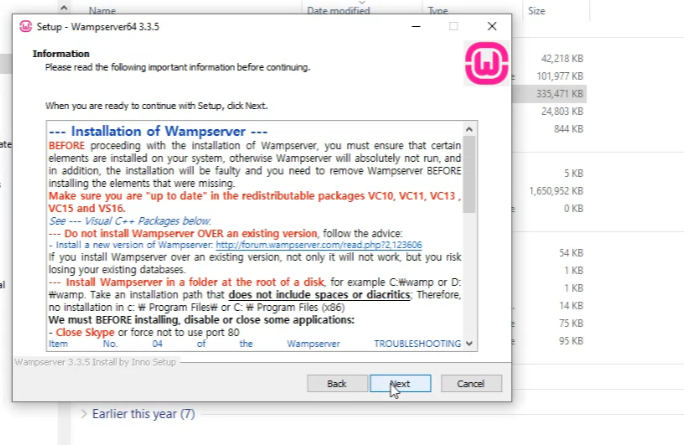
You will then see this informative step showing the elements required for Wamp to function properly. You just click next to continue.
Visual C++ Redistributable Files Error
At this point, if your machine is missing Visual C++ Redistributable Packages, then you will get an error mentioning that.
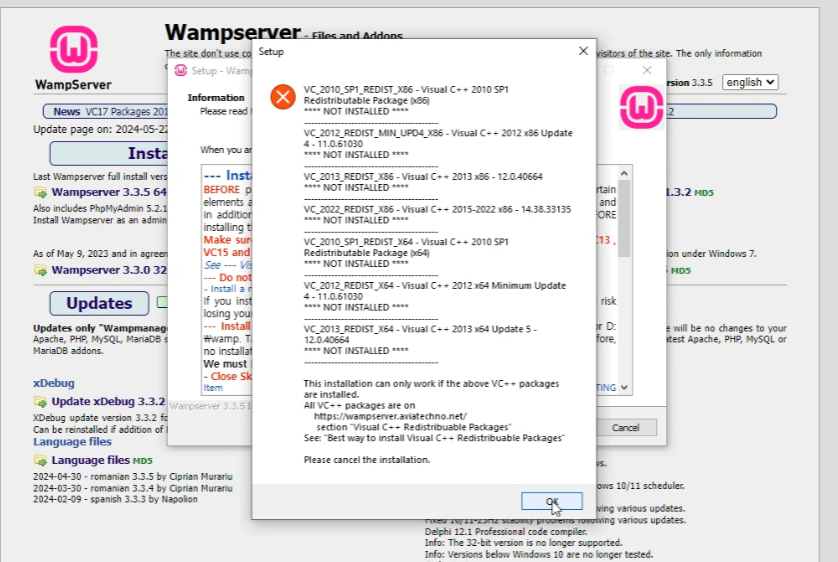
To fix this issue, you can just cancel the installation and go back to the official Wampserver Website and scroll down the page where you will find a link to download these files.
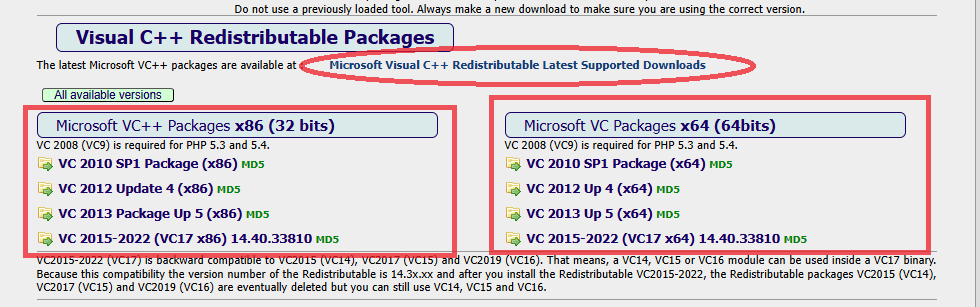
You can then go to Microsoft website and download missing programs, or you can download from the list on Wampserver Website.
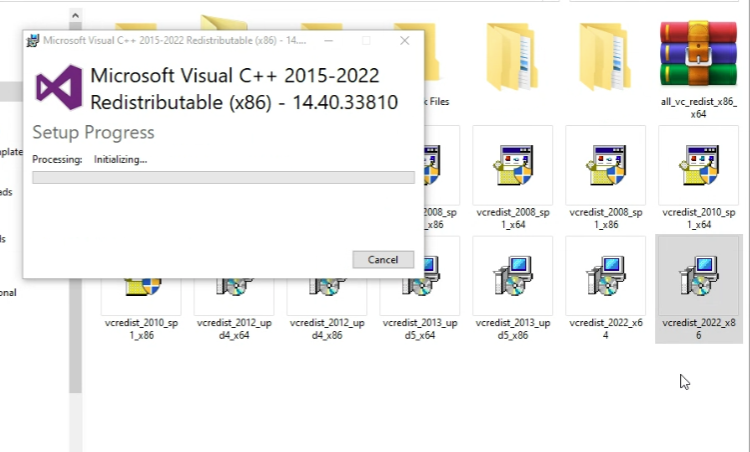
You install first all visual C++ versions missing in your machine.
After that, you can go back again and start Wampserver installation process.
Now, if all visual C++ files are installed, you will not get any error and will continue installation process normal.
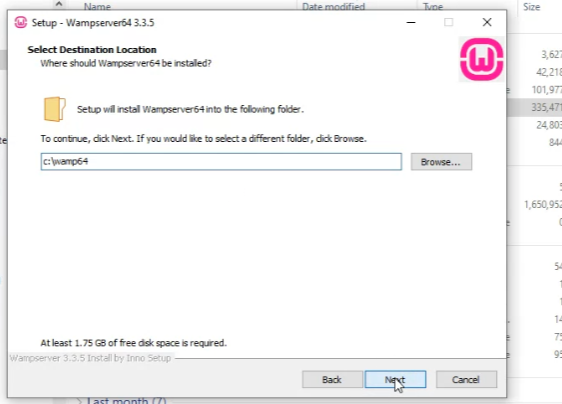
After choosing language and accepting License Agreement as mentioned above, you will be shown the default folder where Wamp will be installed. By default, it is c:\wamp64 or c:\wamp32. But you can change the destination folder in this step by choosing your preferred folder.
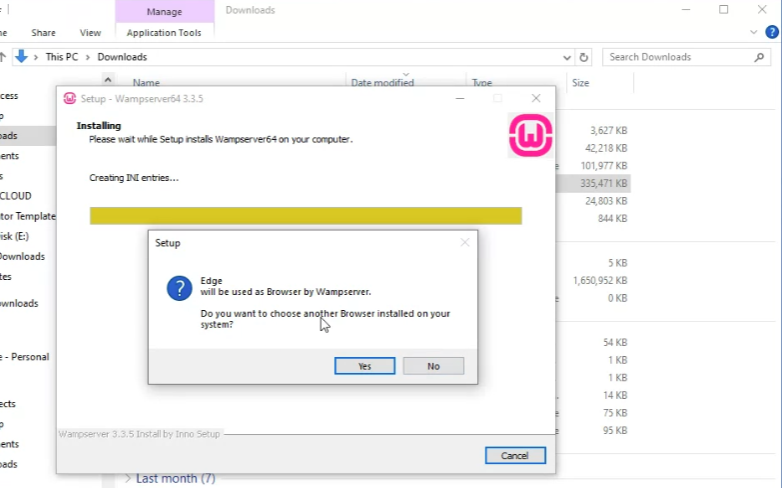
The program starts installing its important files. It will take a few minutes to complete (especially this version is a bit heavy and contains a lot of files), then will prompt a notification to choose default browser you want to use to open your website pages.
If you want to change your default browser, then you can click “Yes” and choose your preferred browser. And if you want to continue without changing the browser, then you click “No”.
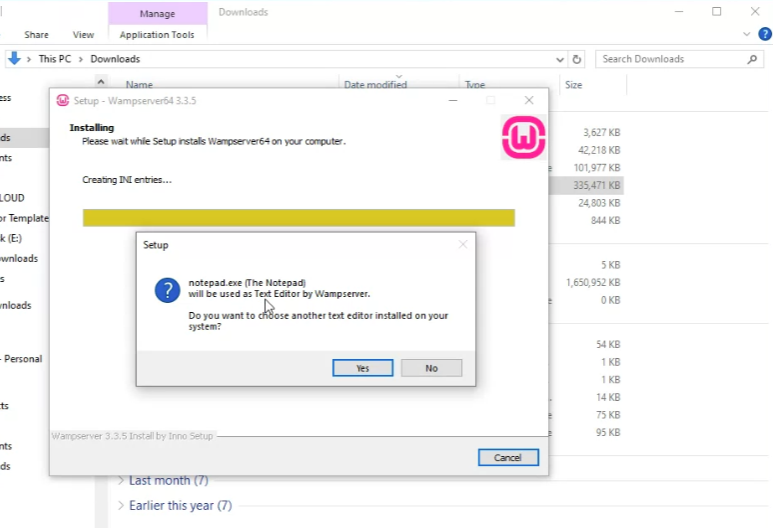
After that, you will get the option to change the default editor (Notepad++).
If you want to change your default editor, then you click “Yes” and choose your preferred editor. And if you want to continue without changing, then simply you click “No”.
Understanding Wampserver Components
Apache, MySQL, PHP: Explained
Wampserver comprises three main components:
Apache: The web server that processes HTTP requests.
MySQL: A database management system.
PHP: A scripting language for web development.
Interdependence of Components
It is always good to have a basic understanding of how these elements work together. Apache serves as the gateway, handling web requests, while MySQL manages databases, and PHP processes server-side scripting.
Databases Management
In order to create, edit or delete your MySQL databases, you will need to access the phpMyAdmin tool.
Common Issues and Solutions
Whenever you face an error, do not panic. Check the error logs and look for online resources for solutions. Among common issues in Wampserver are port conflicts and misconfigurations. You can also do a quick search online and you will find the right solutions.
Conclusion
To sum up. Setting up a server on your computer is your first step to learn how to build your websites. After you learn and have a good knowledge of managing websites on a local server (like Wampserver) and you have come across a number of errors and failed tests, you will then be able to move to a live server and launch your website online.
FAQs
- Is Wampserver compatible with other operating systems?
No, Wampserver is specifically designed for Windows operating systems.
- Can I use Wampserver for production environments?
It is not recommended. Wampserver is best suited for development and testing purposes.
- What should I do if I encounter the “port already in use” error during installation?
Identify the conflicting application using the port and either close it or choose a different port for Wampserver.
- How often should I update Wampserver components?
Regularly check for updates and security patches. Update components when necessary to ensure a secure development environment.
- Can I run different versions of PHP on Wampserver?
Yes, Wampserver allows you to switch between different PHP versions easily.